Veracrypt Tutorial
VeraCrypt is an open-source disk encryption software, essential for data confidentiality as it protects sensitive information by making it inaccessible without the decryption key.
It prevents unauthorized access to files, protecting personal and business information against cyber-attacks, theft and data loss. It ensures that data remains private, even if the computer or hard disk is physically stolen.
VeraCrypt is a fork of TrueCrypt, a popular encryption software discontinued in 2014. It was created to resolve the security flaws identified in TrueCrypt. It is actively maintained.
Please note that this tutorial works equally well on Windows, Linux and MacOS. The file paths may vary significantly, but the tutorial remains the same.
Creation of a volume
Launch VeraCrypt after installing it on the official website:
“Create Volume”, then create an encrypted container.
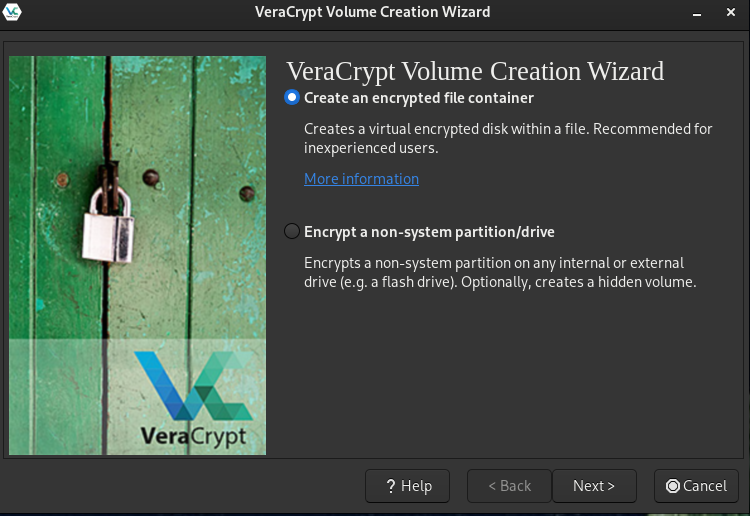
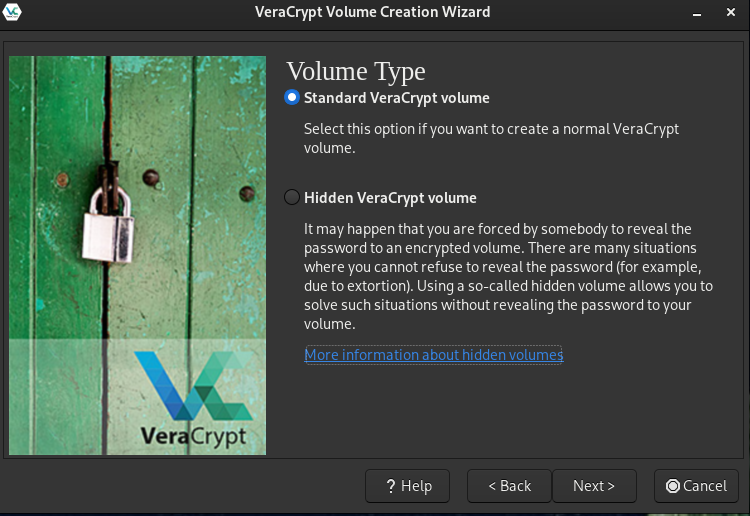
For normal use, you can create a simple encrypted container. If you’re very concerned never to reveal what’s on your VeraCrypt encrypted volume, you can create a hidden volume. This is a step up in confidentiality.
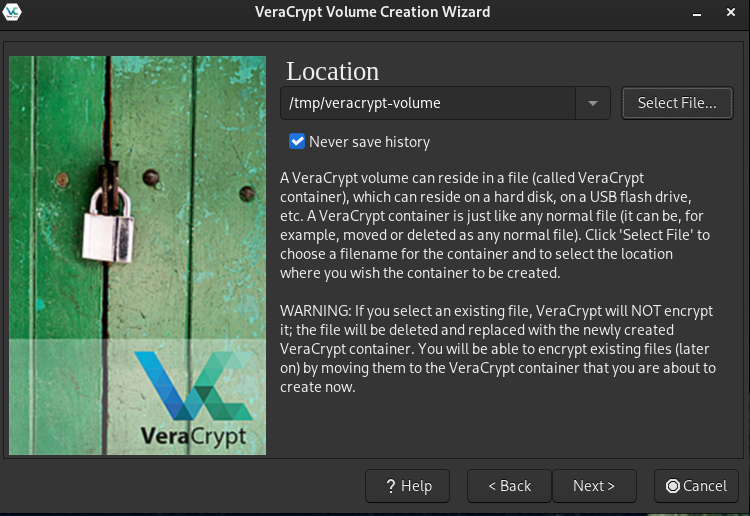
Choose the location of the volume and its name. This location can be public, and in a directory such as Documents, that’s no problem
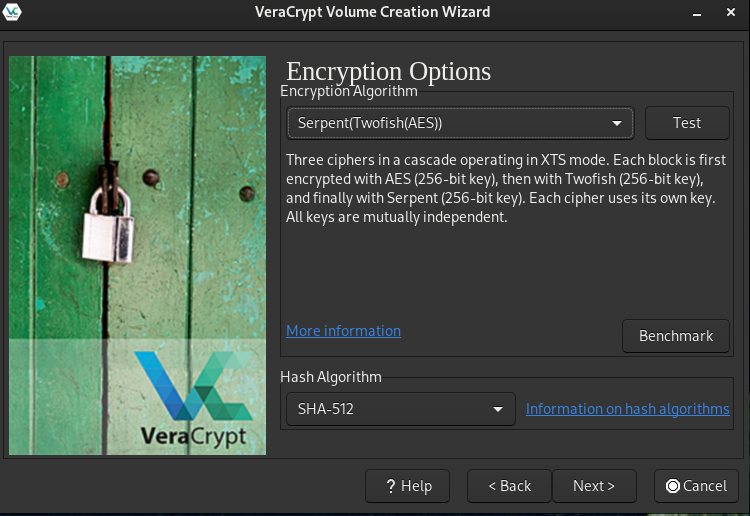
For encryption, I recommend Serpent(Twofish(AES)) and SHA-512 for hashing
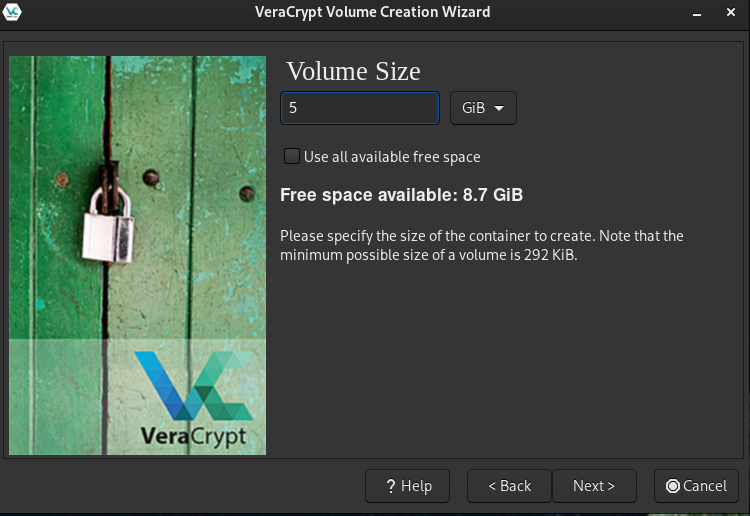
Choose the size of the volume. Depending on what you’re going to store on it, images? Documents? Conversations? It all depends on what you’re going to store on it. Note that the size is fixed, not dynamically allocated. Let’s start with 5Gib.
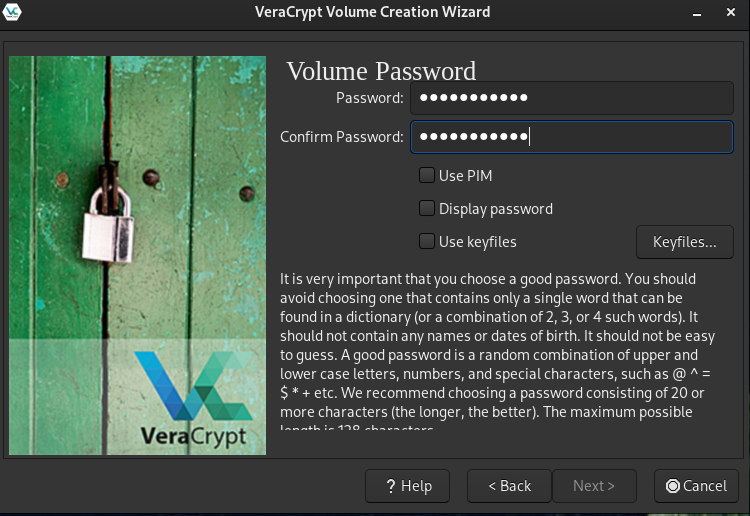
The crucial moment has arrived: choosing a password. But don’t panic! As you’re now an advanced user of KeepassXC or Bitwarden, you don’t need to know this password, as it will be stored in your manager. This is rather good news, but it puts a bit more pressure on the password manager’s master password. This is the center of everything (along with disk encryption with Bitlocker! ).
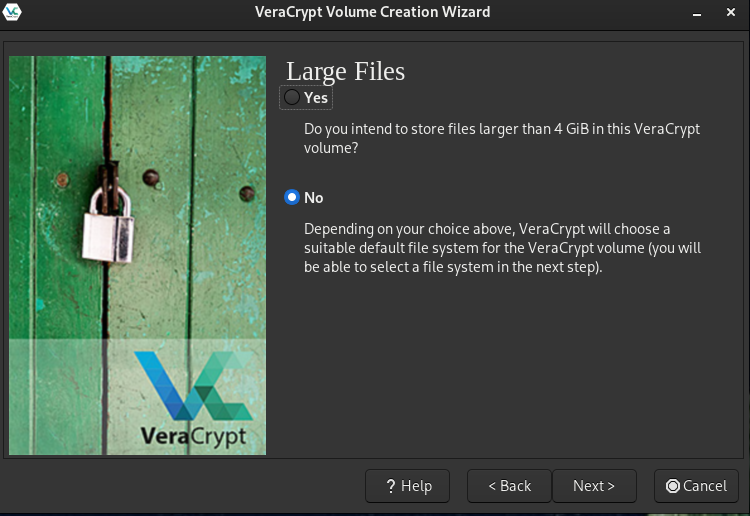
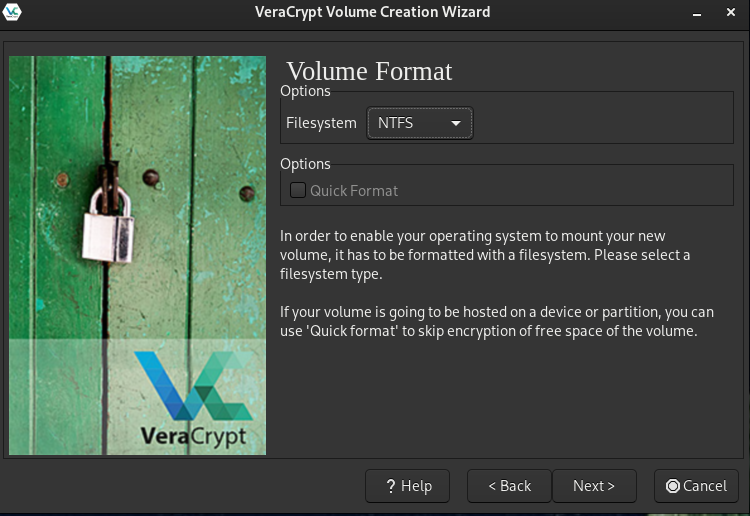
In a way, this step creates the file system behind the VeraCrypt volume. It’s up to you to decide whether you want to store files larger than 4Gib. By default, if you don’t know, put yes. You’ll have a choice of file system.
For a Windows-native file system, select NTFS - [Wikipedia]
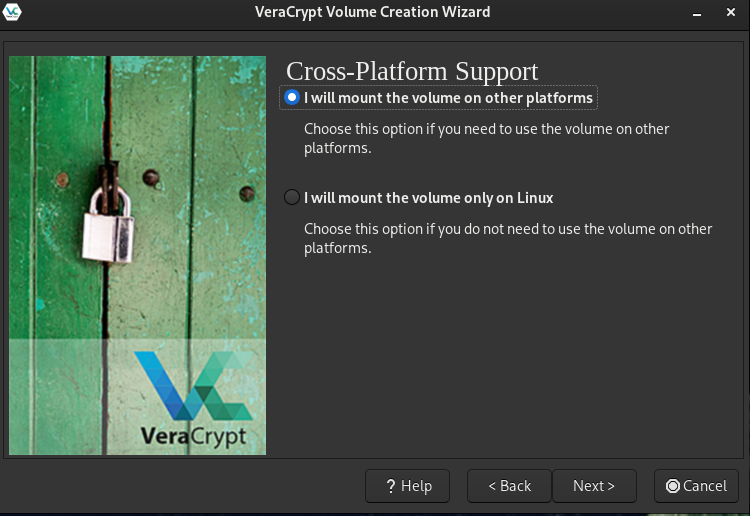
Choose whether or not you intend to mount it on another platform (Linux, MacOS or Windows).
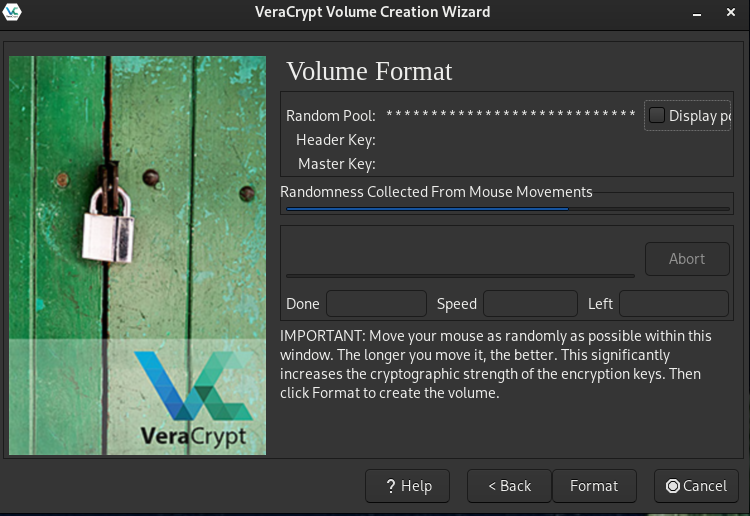
In this window, we need to move our mouse to “create random”. This is one of the methods used to create randomness, making it very, very difficult to recover the VeraCrypt volume. Once you’ve filled in the random bar, move on to the next step.
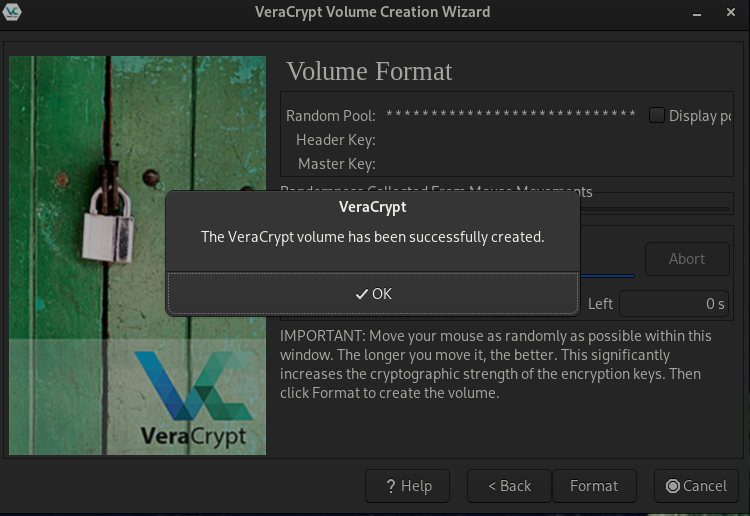
And presto! Volume created!
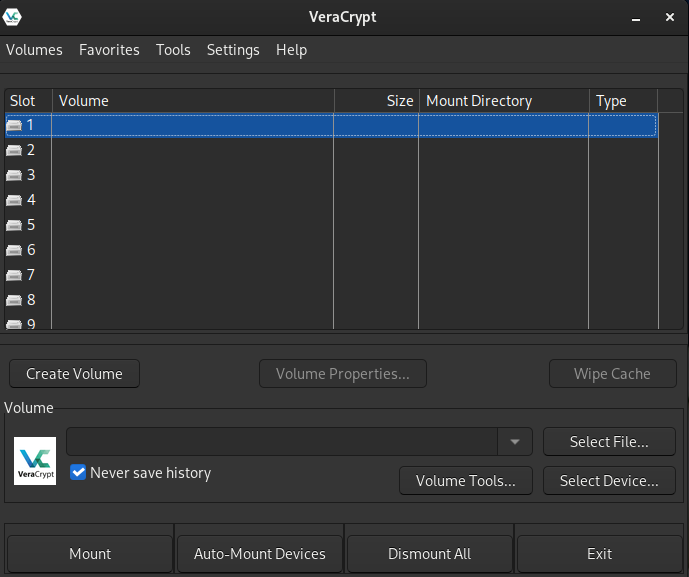
Mount the volume
In this step, we move on to using VeraCrypt. We’ve just created a volume, which we’re now going to mount so that we can use it as a partition in its own right.
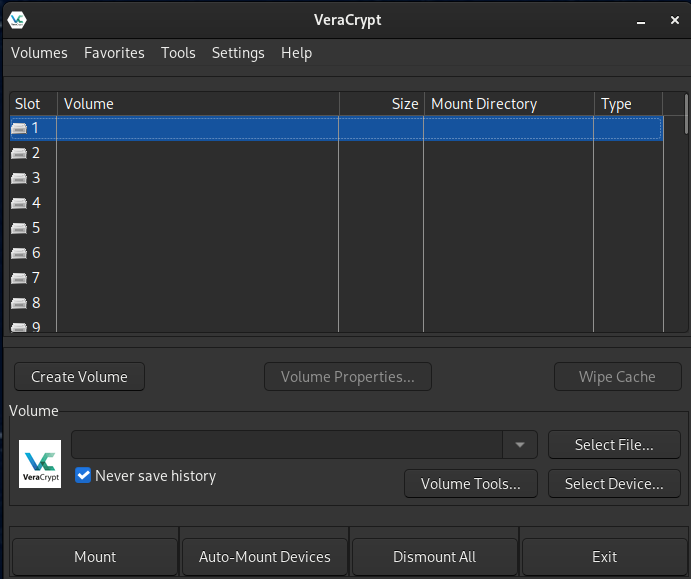
Launch the VeraCrypt application and select a slot. On Linux, this is represented by numbers; on Windows, it’s represented by a letter.
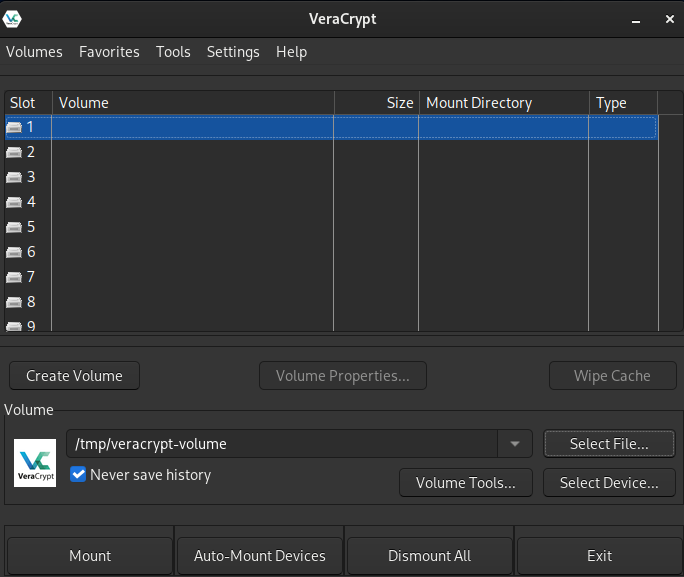
Click on Select File
Go to your previously created volume. In my case, it’s in /tmp/veracrypt-volume (which is a very bad idea, but it’s for the tutorial!). I use arch btw.

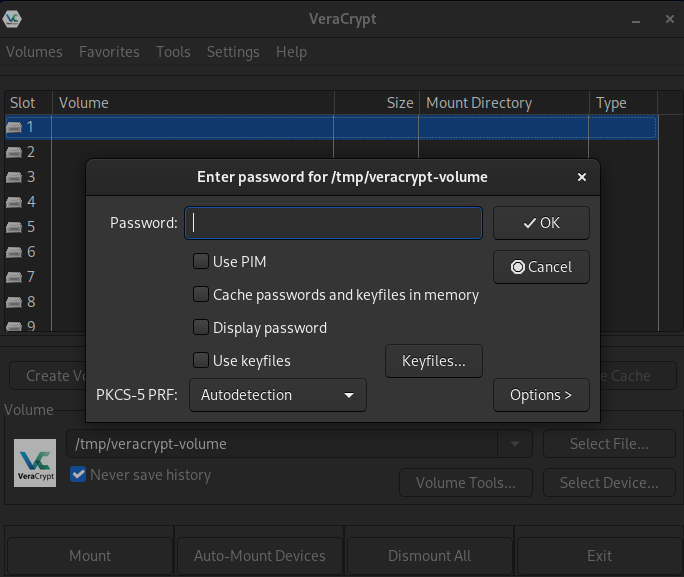
Click on Mount
VeraCrypt asks for our password, which you’ll find in your password manager!
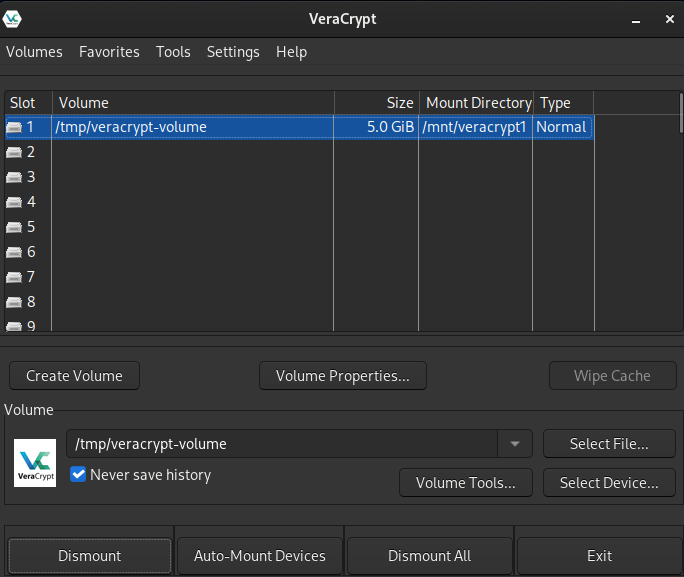
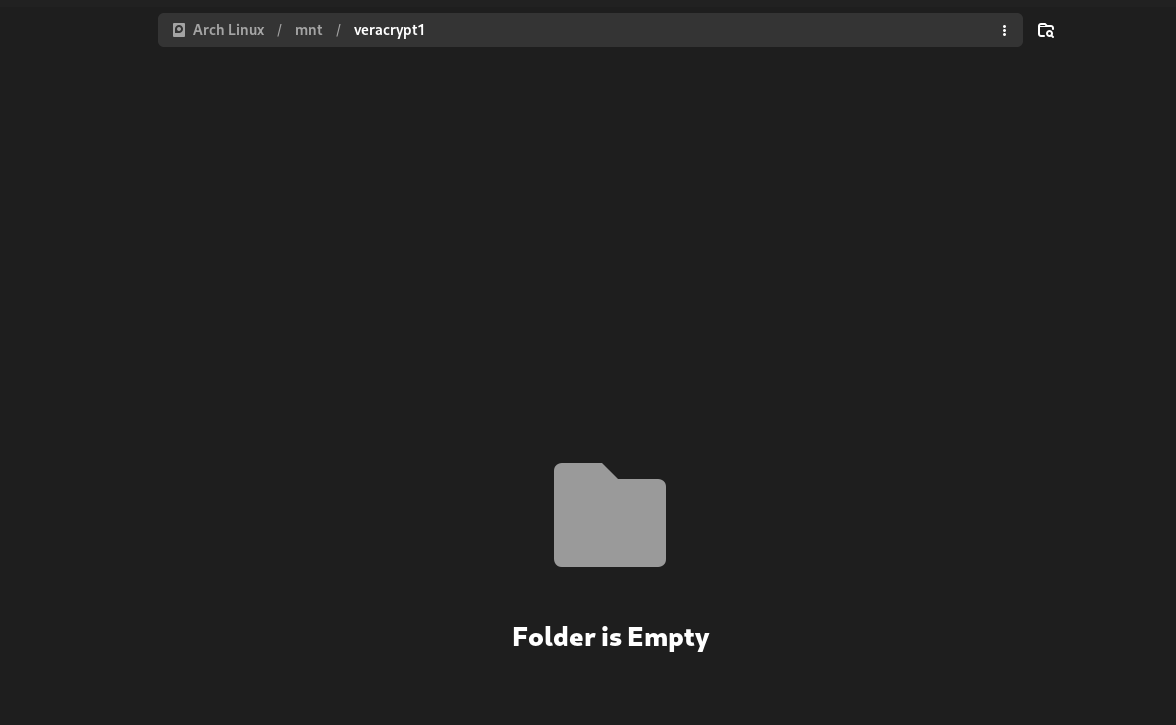
Once the volume has been mounted, it can be accessed (for Windows users) on the mount letter selected above, or for Linux users on the Mount Directory line in the screenshot above!
Et voilà ! Your volume is created and mounted
Here’s a screen for Linux, but it’s the same on Windows :
From now on, you can store your sensitive data here. You’ll need to mount the VeraCrypt encrypted volume each time you start up, to be able to access the data previously stored here.